Web PubSub Service とは?
Azure のサービスで WebSocket を使える PubSub サービスが出てきました。
Azure SignalR Service is based on the SignalR library, which is widely used with the .NET platform. Azure Web PubSub can be used with any platform supporting WebSockets, and you can use it to build sophisticated applications.
ということで、Azure では PubSub サービスとしてこれまでも SignalR がありましたが、SignalR を使うための SDK や API を理解する必要がありました。 この PubSub Service では WebSocket をそのまま利用できるため、各言語・フレームワークに用意されたライブラリ、自作のライブラリをそのまま使うことができます。
SKU、価格はこちら。Standard SKU では、ユニット数あたりの価格と、100 万メッセージを超えると追加の価格が発生します。
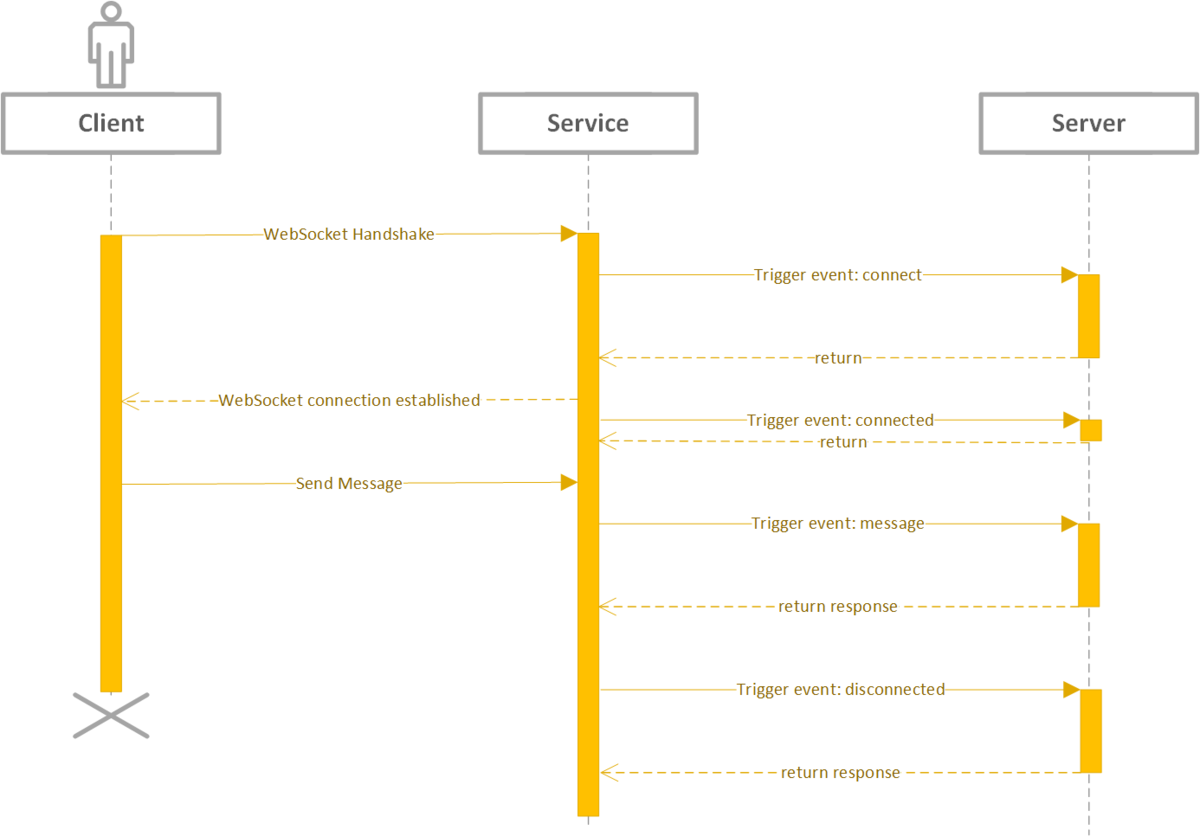
アーキテクチャーはこのページが分かりやすいです。
早速こちらのチュートリアルを試してみたいと思います。
Quick start: publish and subscribe messages in Azure Web PubSub · Azure Web PubSub Service
試してみる
1. サービスを作る
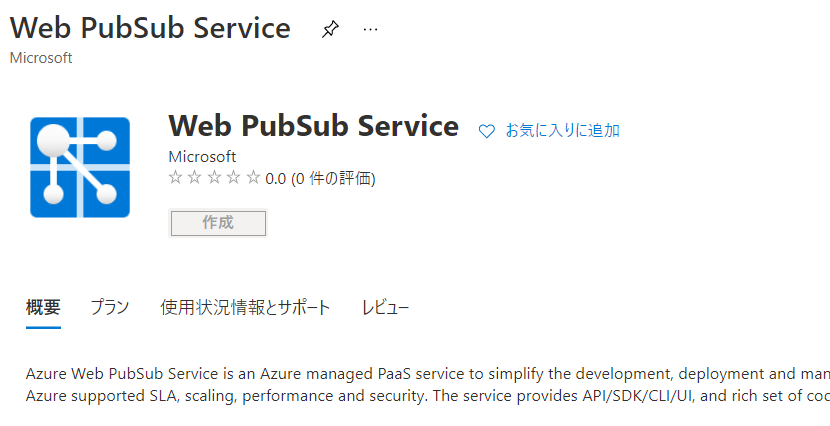
[リソースの作成] で pubsub と検索すると出てくるのでこちらから作成します。
日本リージョンはまだです。
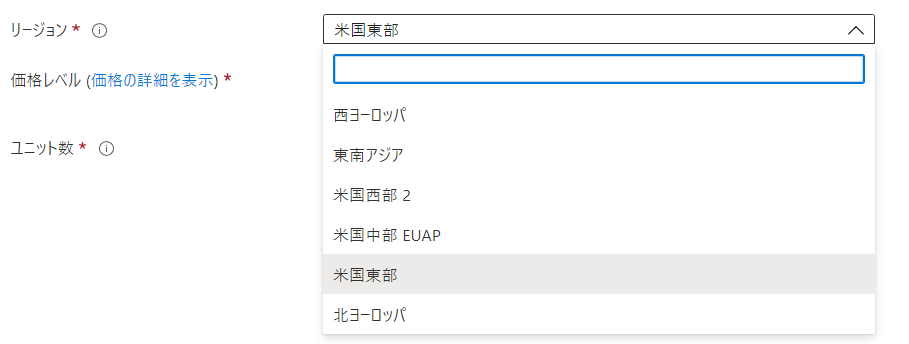
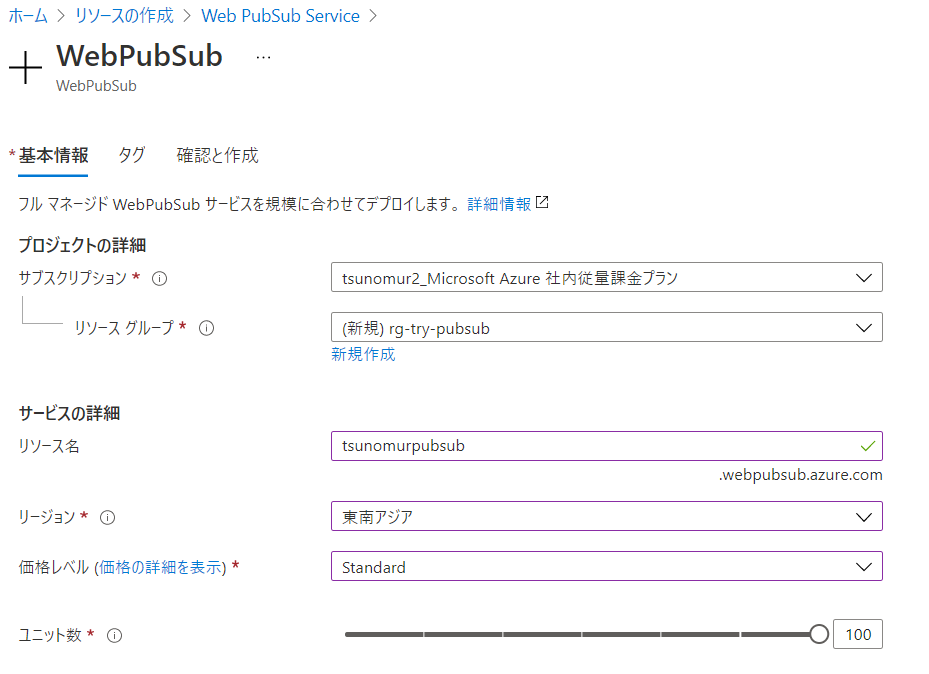
価格レベルは、Free と Standard からの選択です。

Free と Standard の違い

Free は開発用途なので SLA なし、スケールも無し、なので Standard を使いましょう。
Standard のユニット数は最大 100 までスケール出来るようです。
参考までに ARM テンプレート。プロバイダーは SignalRService になるんですね。
{
    "$schema": "http://schema.management.azure.com/schemas/2015-01-01/deploymentTemplate.json#",
    "contentVersion": "1.0.0.0",
    "parameters": {
        "location": {
            "type": "String"
        },
        "name": {
            "type": "String"
        },
        "skuName": {
            "type": "String"
        },
        "tier": {
            "type": "String"
        },
        "capacity": {
            "type": "Int"
        }
    },
    "variables": {},
    "resources": [
        {
            "type": "Microsoft.SignalRService/WebPubSub",
            "apiVersion": "2021-04-01-preview",
            "name": "[parameters('name')]",
            "location": "[parameters('location')]",
            "dependsOn": [],
            "tags": {},
            "sku": {
                "name": "[parameters('skuName')]",
                "tier": "[parameters('tier')]",
                "capacity": "[parameters('capacity')]"
            },
            "properties": {}
        }
    ],
    "outputs": {}
}
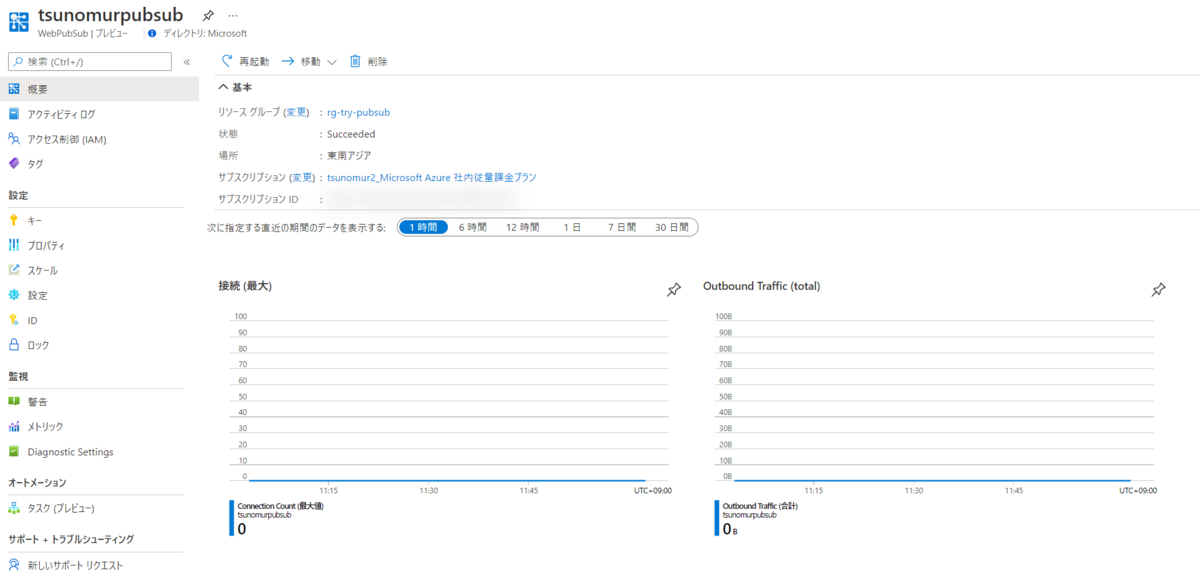
リソースメニュー
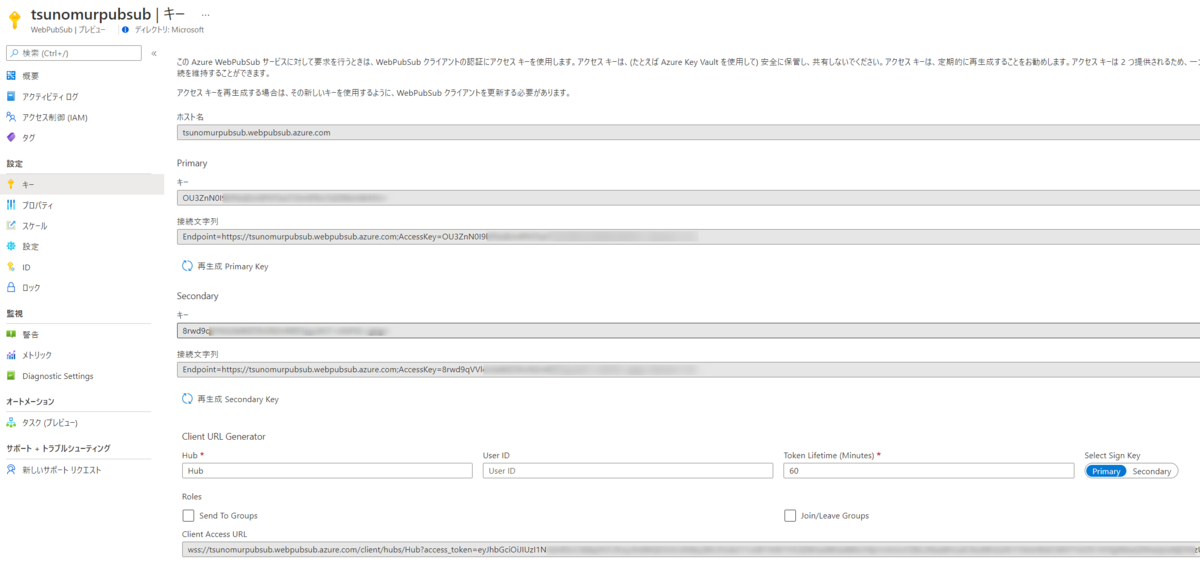
キー
プロパティ。概要ページで確認できない DNS / パブリック IP が見えます。

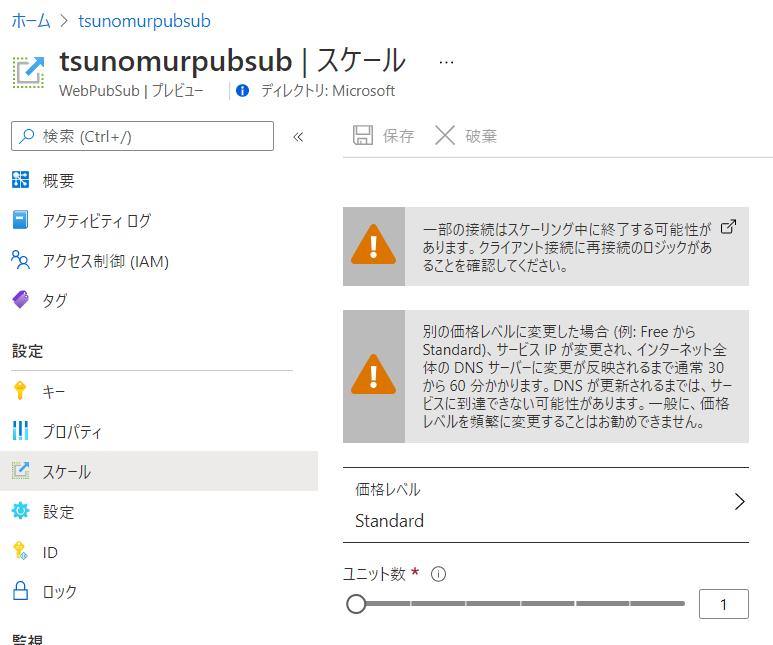
スケール。あとから SKU、ユニット数は変えられるようです。

設定。イベントハンドラーの設定をできます。
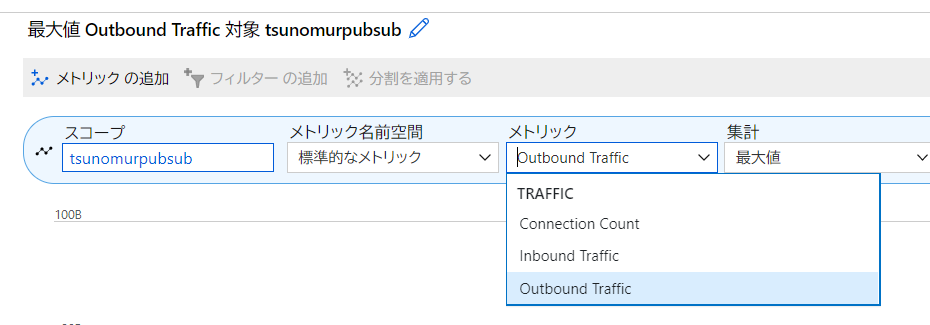
メトリック
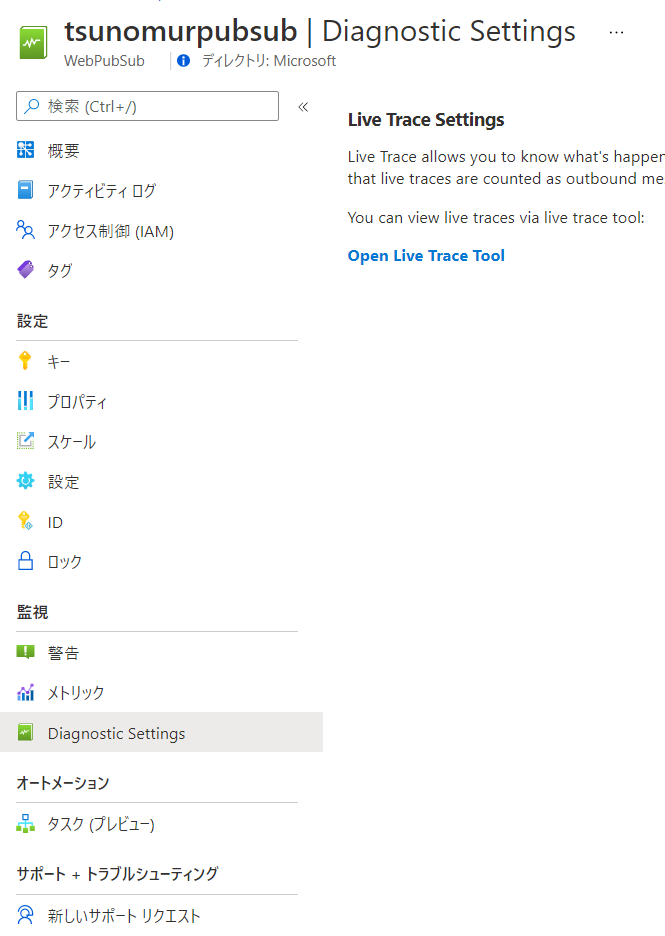
診断設定。リンクだけで、Live Trace Tool というサイトにジャンプします。あとでどうなるか見てみましょう。

2. サブスクライバー(サーバー側)
npm init -y
npm install --save ws
npm install --save @azure/web-pubsub
server.js
const WebSocket = require('ws');
const { WebPubSubServiceClient } = require('@azure/web-pubsub');

async function main() {
  if (process.argv.length !== 4) {
    console.log('Usage: node subscribe <connection-string> <hub-name>');
    return 1;
  }

  let serviceClient = new WebPubSubServiceClient(process.argv[2], process.argv[3]);
  let token = await serviceClient.getAuthenticationToken();
  let ws = new WebSocket(token.url);
  ws.on('open', () => console.log('connected'));
  ws.on('message', data => console.log(data));
}

main();
3. パブリッシャー(クライアント側)
client.js
const { WebPubSubServiceClient } = require('@azure/web-pubsub');

if (process.argv.length !== 5) {
  console.log('Usage: node publish <connection-string> <hub-name> <message>');
  return 1;
}

let serviceClient = new WebPubSubServiceClient(process.argv[2], process.argv[3]);

// by default it uses `application/json`, specify contentType as `text/plain` if you want plain-text
serviceClient.sendToAll(process.argv[4], { contentType: "text/plain" });
4. メッセージをクライアントから送信する
ターミナルを 2 つ起動して、Node.js を実行します。
サーバー側
$ node server.js "Endpoint=https://tsunomurpubsub.webpubsub.azure.com;AccessKey=*****=;Version=1.0;" tsunomurpubsub
connected
クライアント側
$ node client.js "Endpoint=https://tsunomurpubsub.webpubsub.azure.com;AccessKey=*****=;Version=1.0;" tsunomurpubsub hoge
そうすると、サーバー側でメッセージが確認できます。
$ node server.js "Endpoint=https://tsunomurpubsub.webpubsub.azure.com;AccessKey=*****=;Version=1.0;" tsunomurpubsub
connected
hogehoge
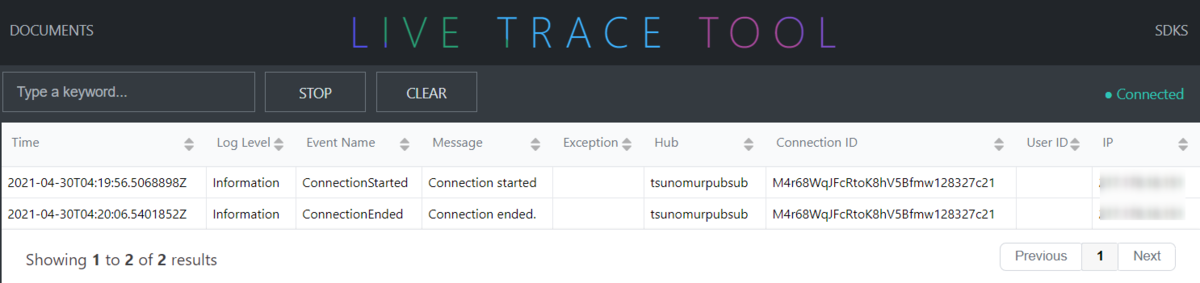
先ほどの Live Trace Tool を確認してみましょう。サーバーがコネクションを開始・終了したログが残ります。
まとめ
今回試した例ではクライアントからサーバーにメッセージを一方的に送り付けるだけの非常にシンプルな例でした。
これだけだと WebSocket 感があまりないのと、トークンの取り方、ロールの考え方、イベントハンドラー等、PubSub Service 特有の部分が含まれていないので、 このチュートリアルや
このチュートリアルを
試してみるとより理解が深まると思います。
GitHub のサンプルはこちらにまとまってます。
開発の幅が広がりますね!